


Drip edges are made of various plastics and metals, which are both acceptable under most building codes so long as the metals are corrosion-resistant or galvanized.
- Aluminum:A common material for drip edges, aluminum isn’t as strong as steel. It doesn’t corrode and is often sold in colors that match the rest of the home exactly.
- Galvanized steel:Drip edges are designed to be in contact with water; so, if they are made of steel, they need to be galvanized to prevent rust. Minimum 24-gauge steel is preferable so that the drip edge can withstand strong winds.
- Copper:Copper is a sturdy metal that gives a roof a unique look. When used as a drip edge, it should be a minimum of 0.69 mm or 20 ounces.
While plastic, vinyl and fiberglass drip edges may also be available in your area, these materials are best suited for use in nonroofing applications, such as above doors and windows.
Drip Edge Profile Types
There are three basic profiles of drip edge flashing, but each goes by more than one name, which can be confusing.
- Type C:This is the classic “L”-shaped drip edge, sometimes called “L style.” This drip edge is bent to a 90-degree angle and has a lower flange at the bottom.
- Type D:This profile of drip edge is shaped like a “T,” with a lower flange at the bottom. Sometimes it is called drip metal, “D-metal” or “T style.” The Asphalt Roofing Manufacturers Association (ARMA) prefers this drip edge profile to Type C because it keeps the water further away from the fascia. However, Type C is still acceptable according to most building codes.
- Type F:This is an extended drip edge that has a longer leading edge, which is useful when installing new drip edges over existing shingles or on rake edges. This profile is frequently called “F style” or “gutter apron.”
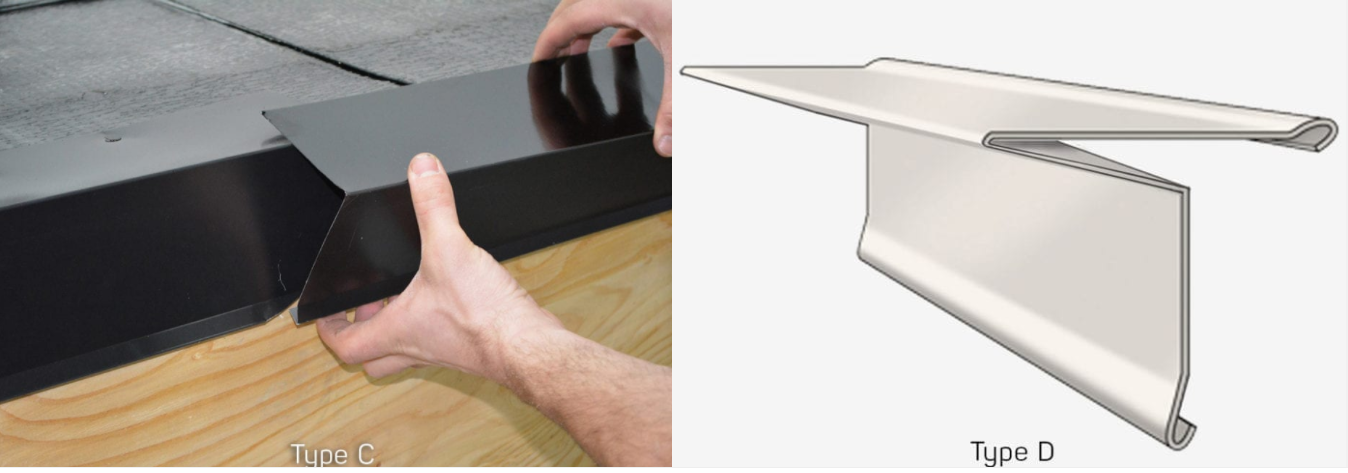
 Type C: This is the classic “L”-shaped drip edge, sometimes called “L style.”Type D: This profile of drip edge is shaped like a “T,” with a lower flange at the bottom.Roof drip edges are generally sold in 10.5-foot lengths, but they are occasionally sold in 8-foot lengths or smaller. The length of the overhang itself commonly ranges from 2 to 5 inches. You may find other styles and sizes of drip edges in the store, including “J-channel” drip edges, but these are intended for windows, doors and other applications. You may also find vented drip edges, but the National Roofing Contractors Association (NRCA) does not recommend using them on roofs.
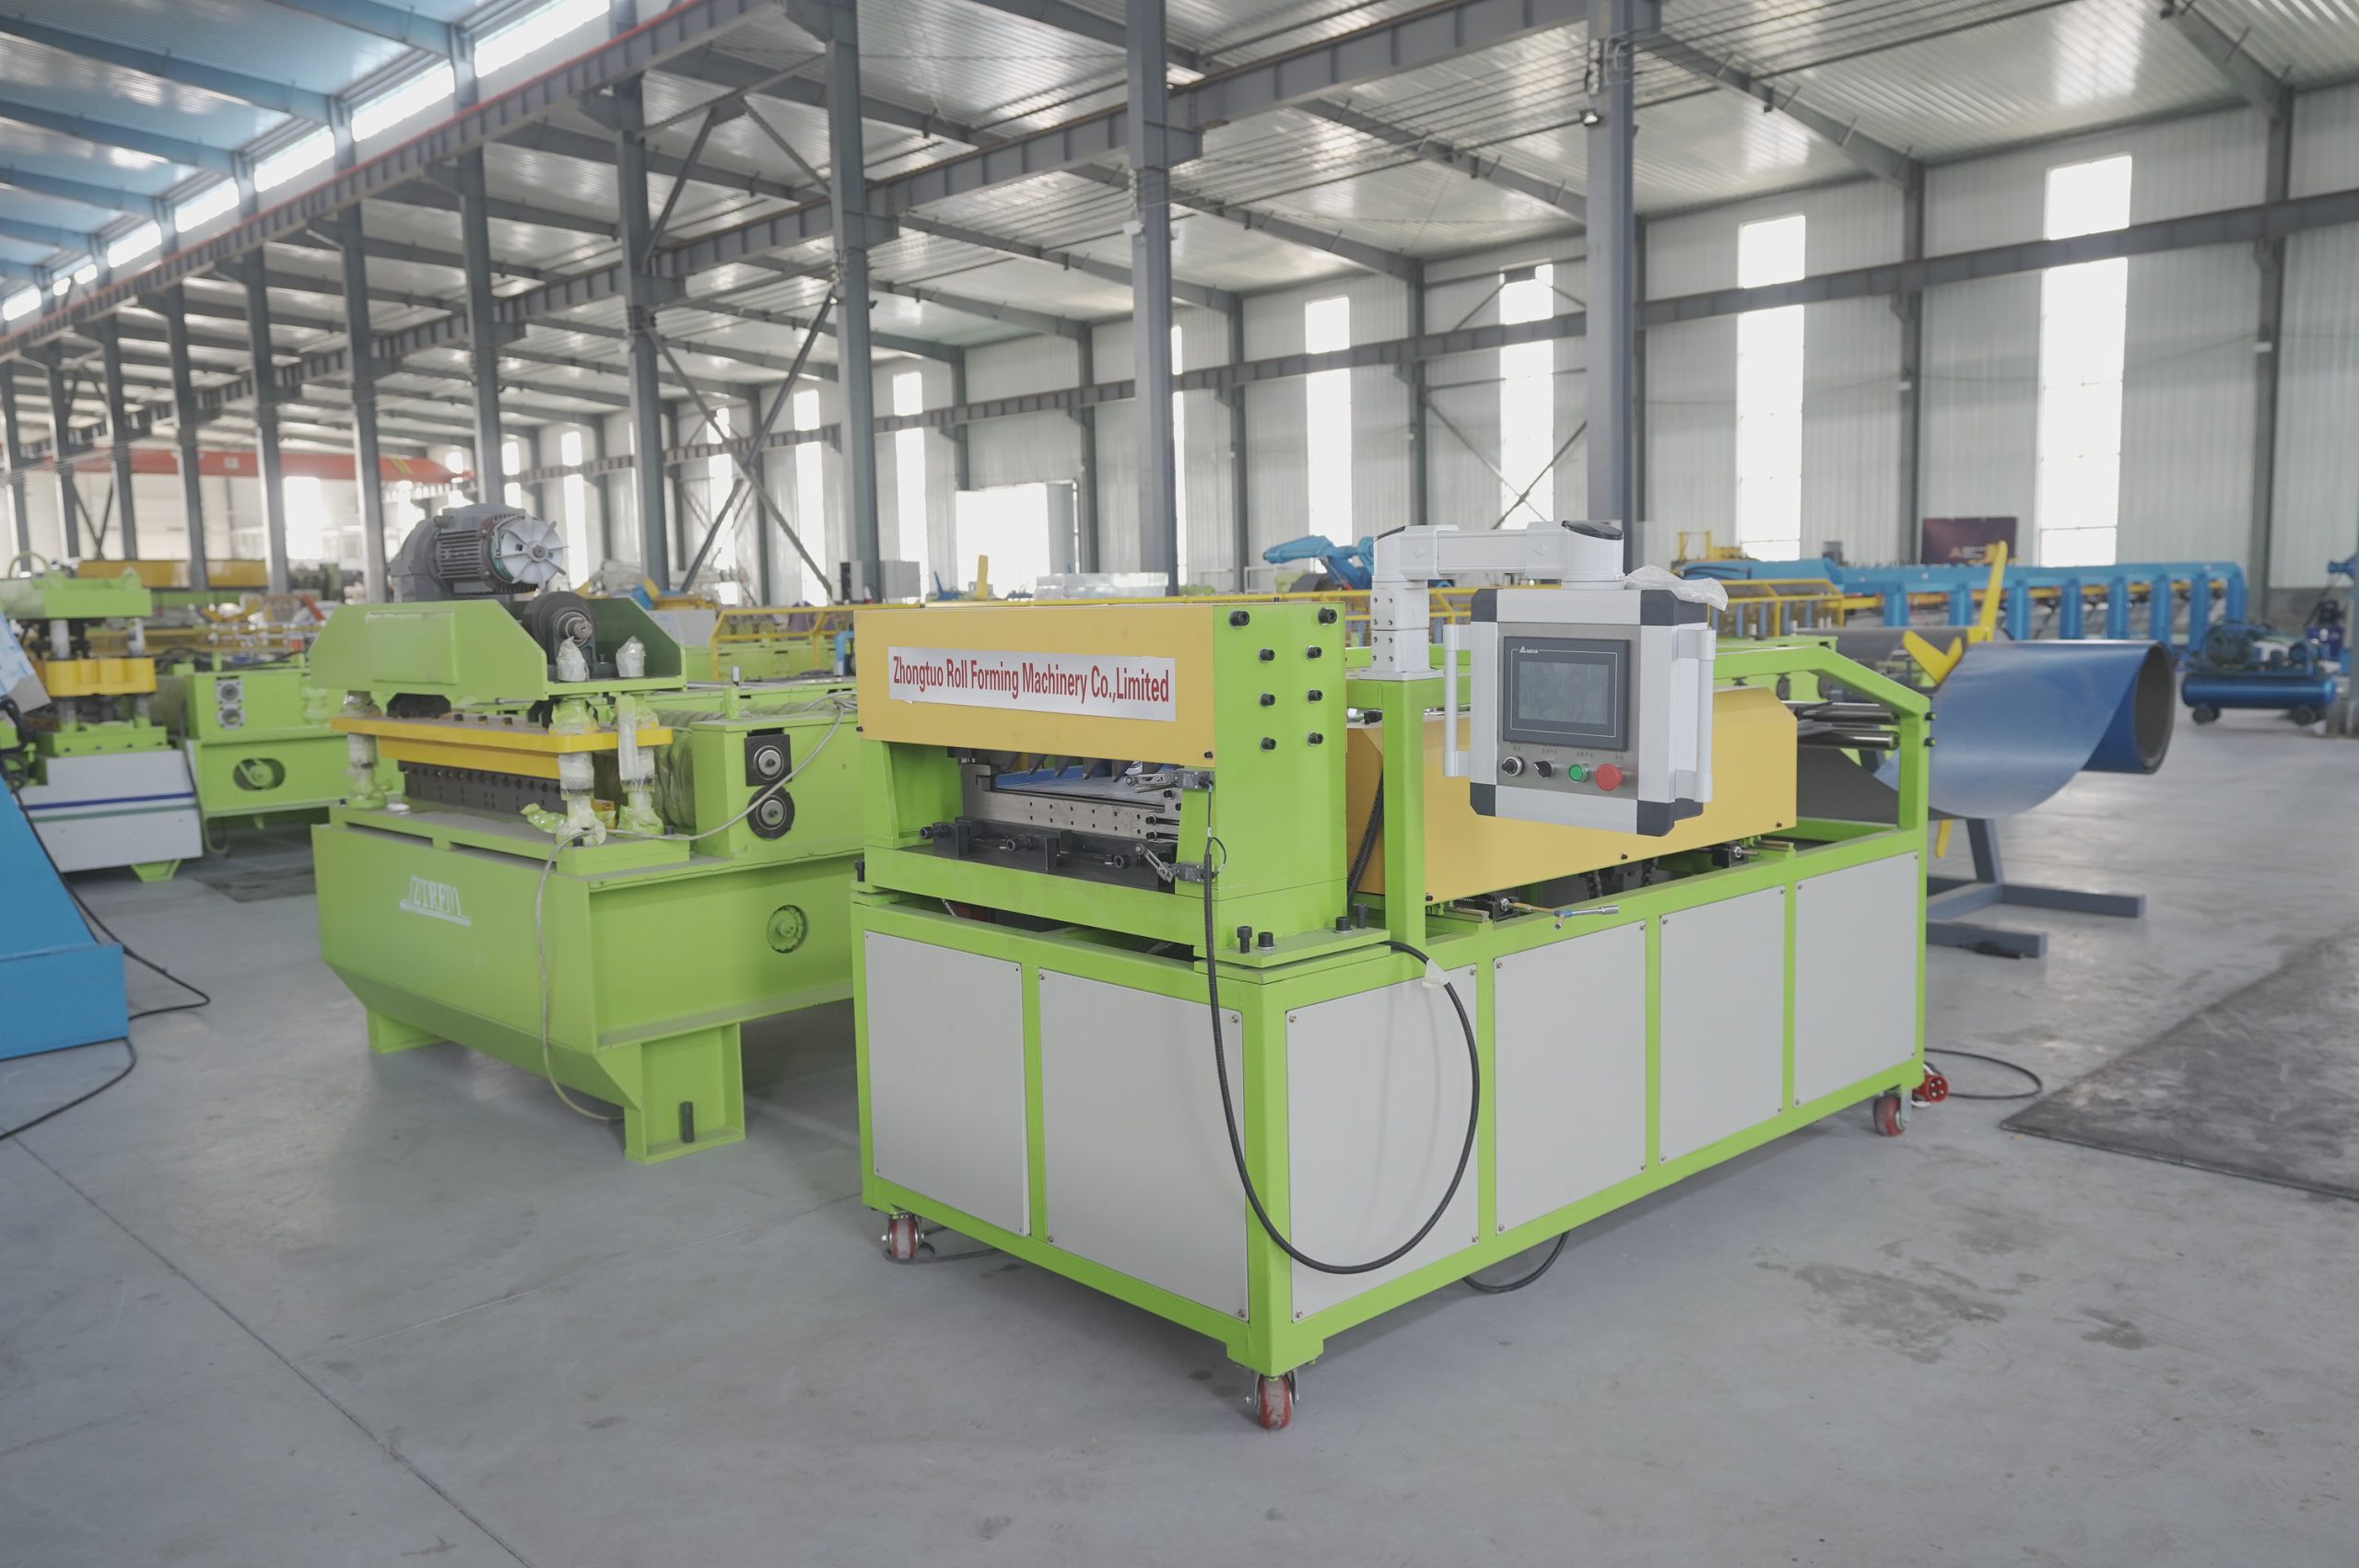
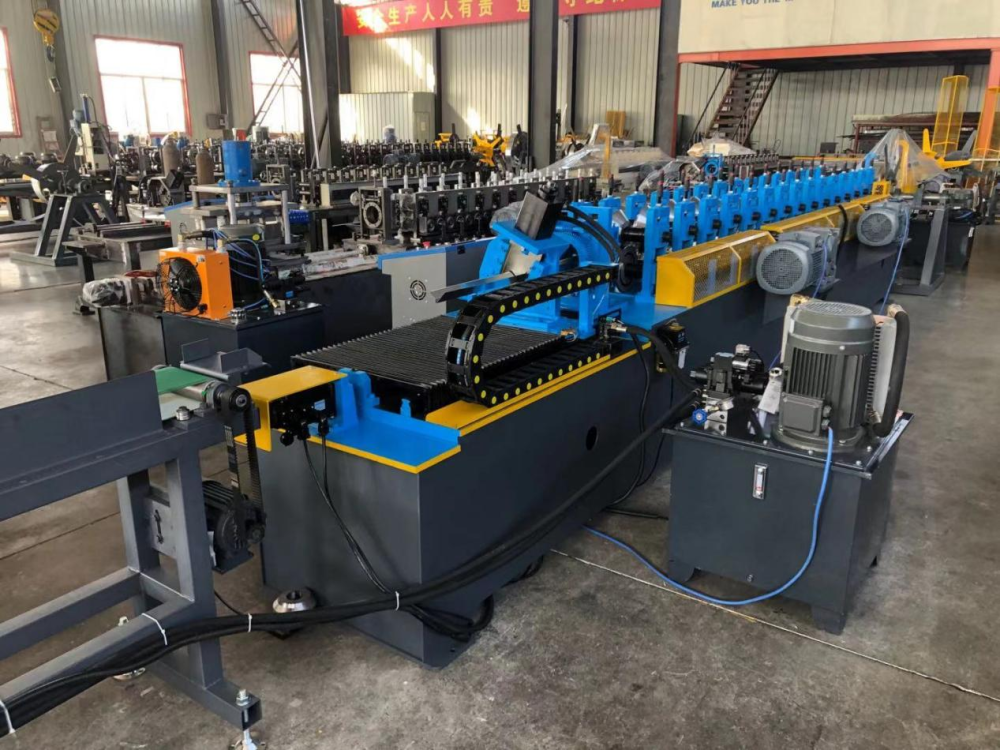
How to Make a Drip Edge: Manufacturing Process
A drip edge is made through a precise manufacturing process that shapes raw metal materials into the proper form to protect the roof’s edge. Here’s an overview of how drip edges are typically made:
1. Material Selection
Drip edges are typically made from various metals such as:
- Aluminum: Lightweight and corrosion-resistant.
- Galvanized Steel: Strong and durable, with a protective zinc coating.
- Copper: High-end, durable, and develops a patina over time.
- Stainless Steel: Highly resistant to rust and corrosion.
- Vinyl (PVC): Inexpensive and often used for temporary applications, although not as durable as metal.
These materials usually come in large rolls (coils) or flat sheets.
2. Cutting the Metal
The first step involves cutting the metal sheets or coils into smaller sections that will form the drip edge. This is done using sheet metal cutting machines like:
- Shears: For straight cuts.
- Laser Cutters: For precise, complex cuts.
The metal is cut into flat strips, typically measuring 10 to 12 feet in length, depending on the requirements.
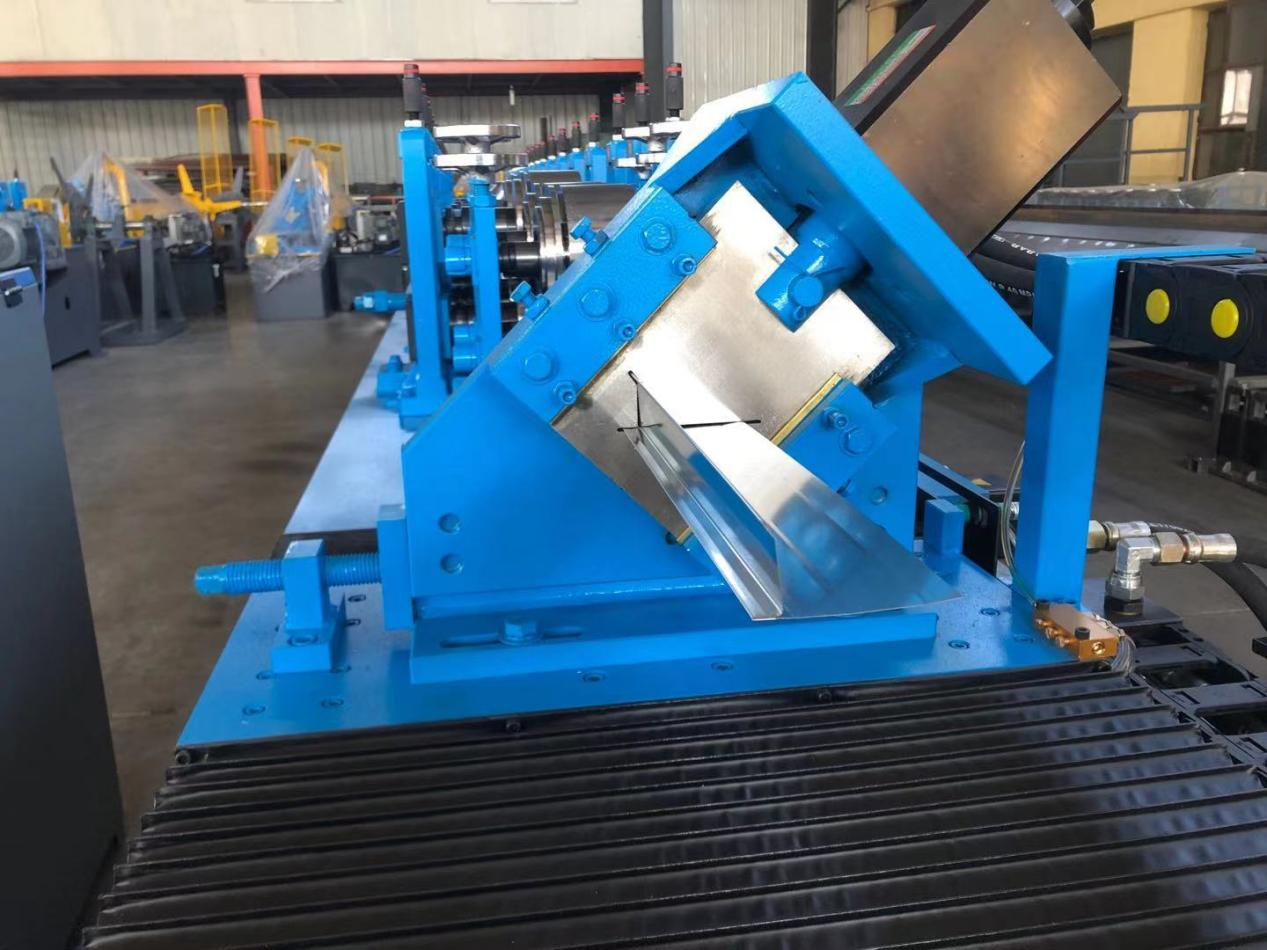
3. Roll Forming or Bending
To create the distinctive “L” shape of the drip edge, the flat metal strips are fed into a roll forming machine or brake press:
- Roll Forming Machine: The metal passes through a series of rollers that progressively bend it into the desired drip edge shape. This is ideal for mass production.
- Brake Press: For smaller-scale or custom projects, the metal can be bent manually or automatically using a brake press, where the metal is clamped and folded along specific lines.
The standard profile includes:
- A vertical face that covers the fascia board.
- A horizontal flange that extends along the roof edge.
- A small lip or kick-out at the bottom of the vertical face to direct water away from the fascia.
4. Punching (if needed)
Some drip edges may require holes to be punched for fasteners. This is often done in a punching machine that creates evenly spaced holes along the metal strip.
5. Coating and Finishing
After forming, the metal may need a protective finish or coating to enhance durability:
- Galvanization: Steel drip edges are often galvanized to prevent rust.
- Paint or Powder Coating: Aluminum and other metals can be painted or powder-coated to match roofing or trim colors and provide additional weather protection.
Copper and zinc drip edges are usually left unfinished, as they naturally develop a patina over time.
6. Cutting to Length
The formed drip edges are then cut to their final length. In most cases, drip edges are manufactured in standard sizes, such as 10 or 12 feet, but custom lengths can be created depending on the application.
7. Quality Control and Packaging
Each piece of drip edge is inspected for accuracy, proper coating, and finish quality. Any defects, such as uneven bends or coating flaws, are removed from the production line. The finished drip edges are then stacked and packaged for shipment to suppliers or directly to job sites.